The brief
An unfinished basement, a growing family, a clock.
The Mercer County homeowners had lived with an unfinished basement for nearly a decade. Not because they didn't want to finish it — because every contractor they called gave them a number that felt like a ceiling, not a floor, and then disappeared when it came time to follow through.
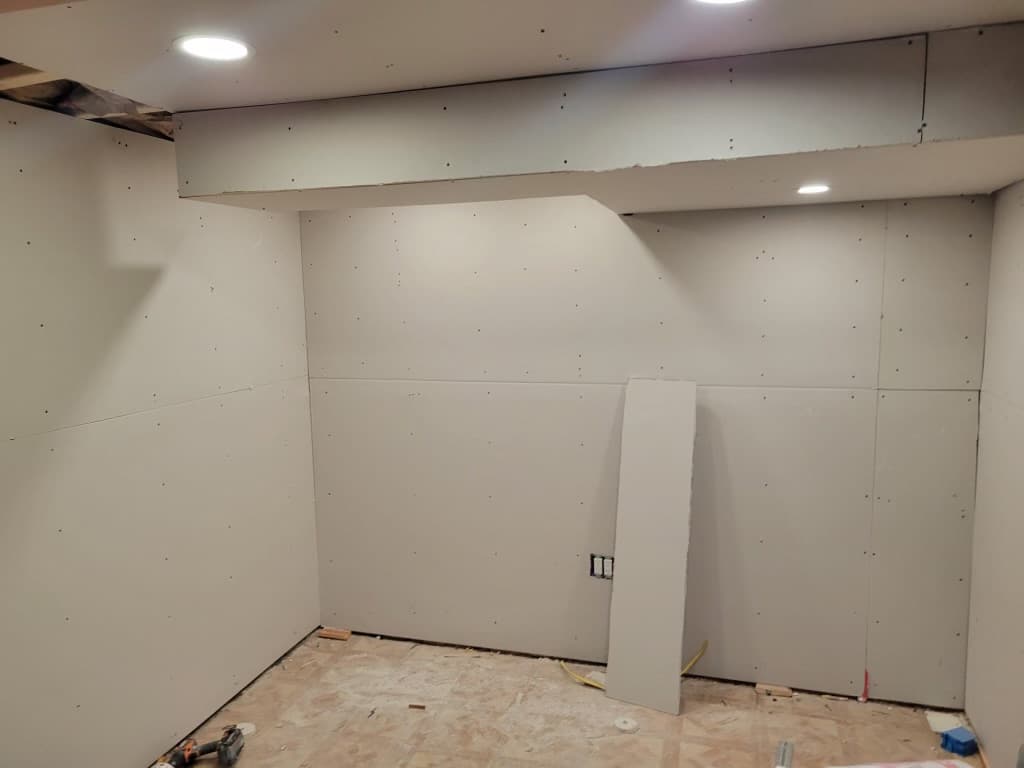
The space itself was structurally sound. Poured concrete walls, good ceiling height — 8'2" after accounting for the beam and mechanicals — and a sump pump that had never given them trouble. What they had wasn't a bad basement. They just had an unfinished one.
Their brief was clear: a living suite that could serve as a media room, a home office, and a guest sleeping area — all in one open-plan space that didn't feel like a basement. They wanted it bright, they wanted it warm in winter, and they didn't want it to look like it cost what it was going to cost. That last part, we took as a compliment.
The existing mechanical zone — water heater, HVAC, electrical panel — stayed where it was, boxed and accessed cleanly. Everything else was negotiable. We started over.
The design
Bright, warm, and nothing like a basement.
Below-grade spaces have one enemy: the feeling of being underground. The design decisions here were all about defeating that feeling — ceiling height, lighting placement, floor warmth, and wall colour working together to read as a real room, not a finished storage space.
We ran the recessed lighting grid before framing was done — the layout was driven by how light would hit the floor and bounce off the walls, not by joist spacing. 2700K, CRI 90+ throughout the main living area. The bar zone got a pendant on a separate circuit. You can tune the room like a stage.
The flooring choice was the pivotal decision. The homeowners initially wanted carpet — warmer, quieter, kid-friendly. We showed them an engineered oak alternative with a thermal underlayment and a matte finish. It reads warmer than carpet in photographs. It cleans in ten minutes. They switched.
The flooring choice was the most important decision we made. Everything warm about that room radiates up from the floor.
Insulation was done in two layers. Rigid foam board against the concrete walls first — a continuous thermal break — then Rockwool batt between the studs for the acoustic separation they wanted between the basement and the main floor. The result is a room you can't hear from upstairs and can't hear upstairs from. That was a specific ask.
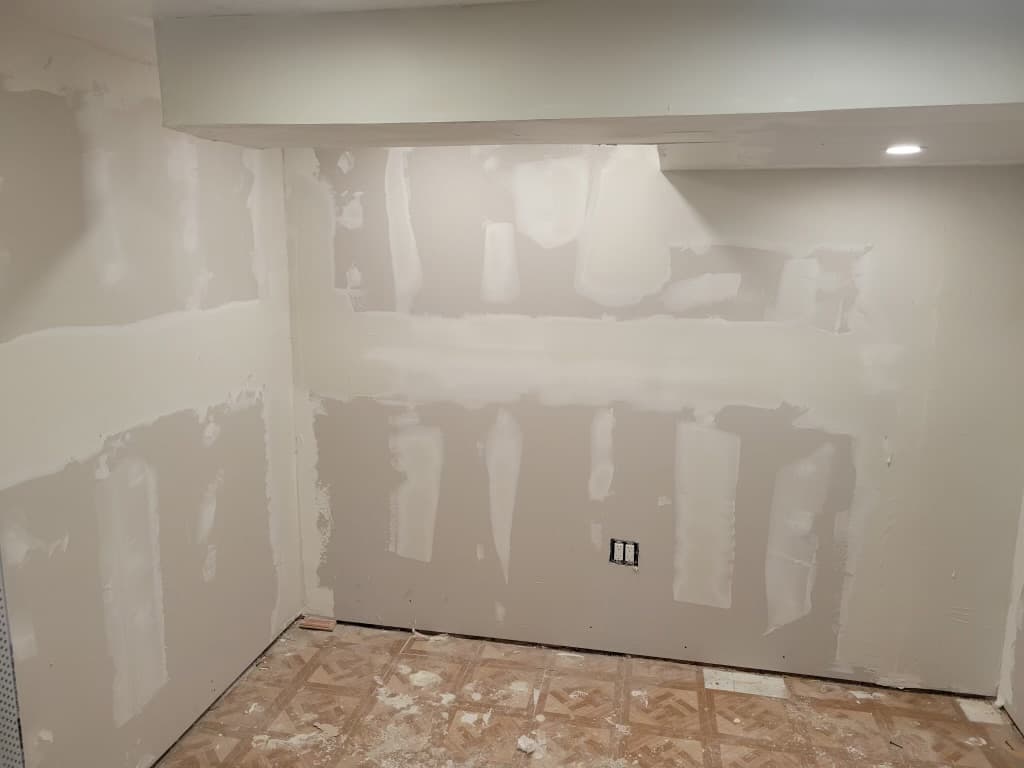
Drywall finish: Level 5 in the main living area, Level 4 in the mechanical room and storage zone. The painted finish is Benjamin Moore Simply White — warm enough to not feel clinical, bright enough to read as a full-value white in artificial light. The trim is poplar, 5" colonial profile, same specification as the floors above. It reads like the same house.
Before and after

The build
Start to finish, in the room.
Materials & finishes
Chosen for how they'd wear in ten years, not ten minutes.
Below-grade finishes need to be warm, durable, and moisture-resistant. Every selection here cleared all three bars before it went on the spec sheet.
- Flooring
- Engineered oak, 7″ wide plank — matte finish, rift-cut, thermal underlayment, Ceramic tile — Bedrosians, 12×24, slate grey, wet areas
- Walls & trim
- 1/2″ drywall — Level 5 finish in main living area, Level 4 in utility zones, Poplar baseboard — 5″ colonial profile, Benjamin Moore Simply White, Rigid foam board — continuous thermal break at concrete walls, Rockwool batt — between studs, acoustic separation from main floor
- Lighting
- Recessed 4″ LED — 2700K, CRI 90+, dimmable throughout main area, Bar pendant — independent circuit, warm brass, over bar zone
- Paint
- Benjamin Moore Simply White — walls and trim throughout, eggshell finish
By the time they were done, it felt like our house was finally the one we'd imagined.
The timeline
Ten weeks, start to walkthrough.
Week 01
Design & permitting
Final layout confirmed. Permit application submitted. Lighting and electrical plan drawn before framing started.
Week 02
Demo & site prep
Existing storage cleared. Sump pump and mechanicals assessed. Ceiling height confirmed at 8'2" clear.
Week 03
Rigid foam & framing
Continuous rigid foam board installed against concrete walls. Stud framing built to final plan.
Week 04
Rough-in electrical
All circuits run before insulation. Recessed lighting grid laid out from the centre — not from the joists.
Week 05
Insulation
Rockwool batt installed between studs. Acoustic and thermal performance tested before ceiling close.
Week 06
Drywall
Hang, tape, and finish. Level 5 in main living area. Mechanical zone boxed and access panel set.
Week 07
Flooring & tile
Engineered oak installed over thermal underlayment. Ceramic tile set in wet areas.
Week 08
Trim, paint & fixtures
Poplar baseboard and casing installed. Two coats Simply White throughout. All fixtures and pendants hung.
Week 09
Punch list & final walkthrough
Homeowners present for final walkthrough. All items addressed same day. Space handed over.